How to Automate Cisco Switch and Router Configuration Backups Using the Archive Feature
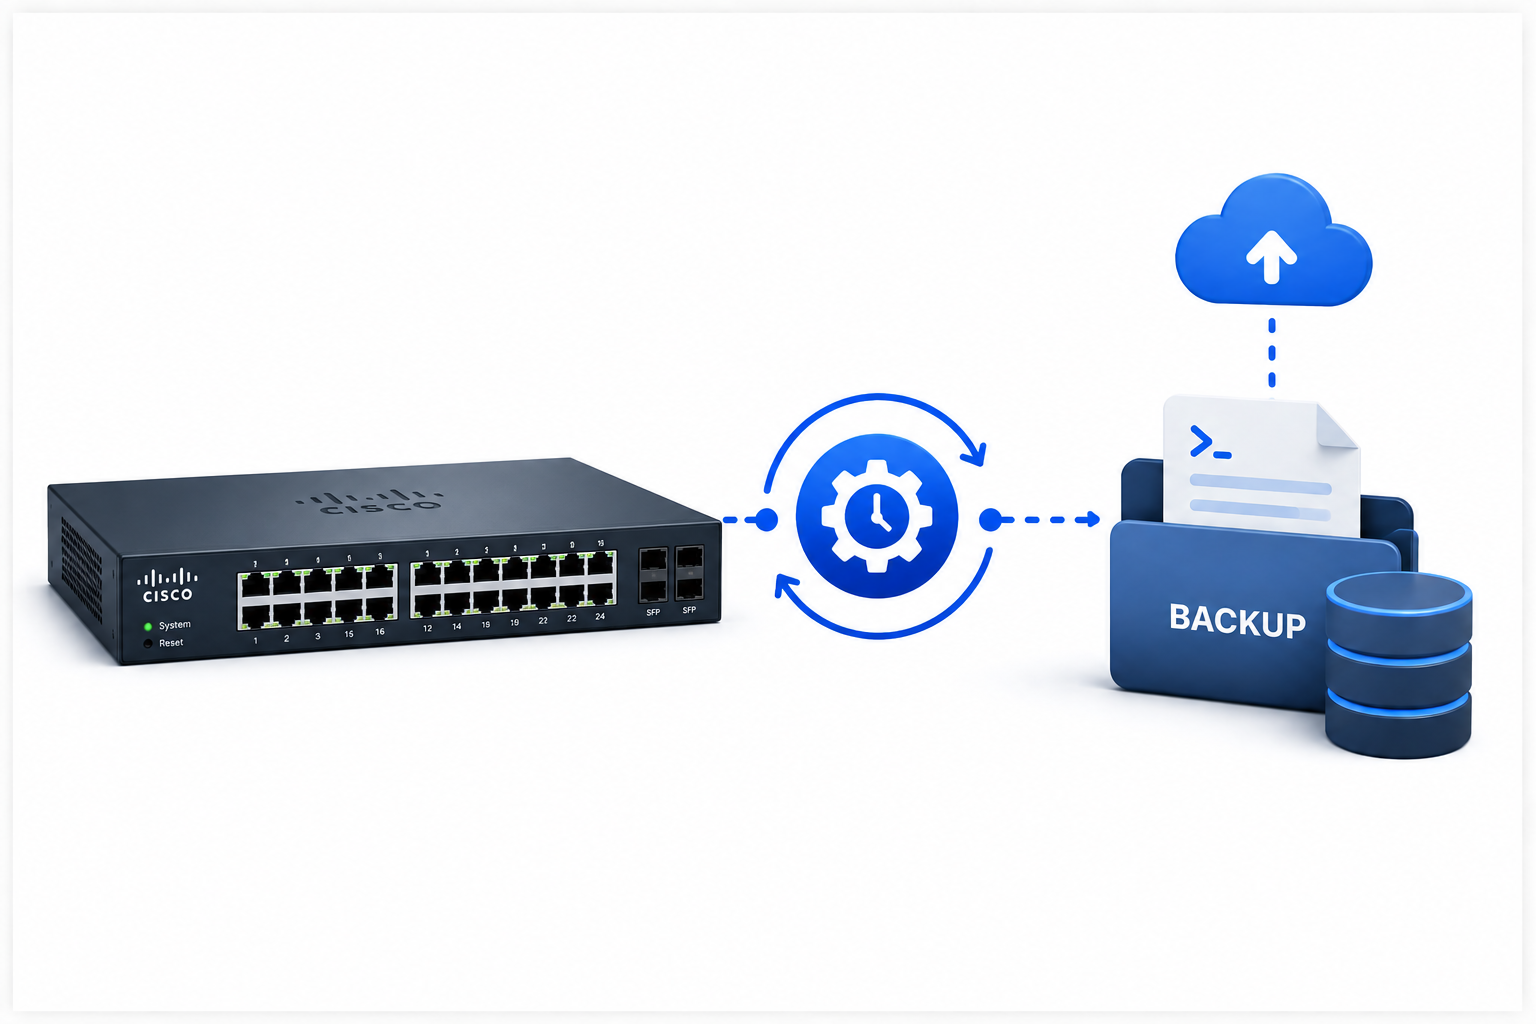
Every network engineer has faced that sinking feeling — a config change goes wrong, and you realize your last backup is three months old. Manual backups with copy run tftp work, but they rely on someone remembering to do them. The Cisco IOS archive feature solves this by pushing configurations automatically whenever you save changes or on a set schedule. In this guide, I’ll walk you through setting it up properly, explain the security pitfalls most people miss, and share a few tricks I’ve picked up from production environments.
Table of Contents
- What the Archive Feature Actually Does
- Why Manual Backups Let You Down
- Setting Up the Archive Feature Step by Step
- Choosing the Right Protocol: TFTP vs FTP vs SFTP
- Using Variables to Organize Your Backup Files
- Verifying and Troubleshooting Your Backups
- Removing or Modifying the Archive Configuration
- A Better Approach: Combining Archive with EEM
- Security Best Practices You Should Not Skip
- Conclusion
What the Archive Feature Actually Does
Cisco introduced the archive feature back in IOS Release 12.3(4)T. It gives your device the ability to snapshot its running configuration and push it to a remote location without any external scripts or tools.
The feature runs in two modes:
- Event-driven: Backs up the config every time someone issues
write memoryorcopy running-config startup-config. - Time-driven: Backs up the config at a fixed interval you define, measured in minutes.
You can also use the archived files for configuration rollback, which is handy when you need to revert changes quickly. The configure replace command can pull a previous archive file and overwrite the current running config with it.
Why Manual Backups Let You Down
Most small-to-medium networks start with manual backups. An engineer logs in, runs show running-config, copies the output to a text file, and saves it somewhere. Others might use copy running-config tftp: and punch in the server IP each time.
The problem? People forget. Or they get busy. Or they assume someone else handled it. Before you know it, your “backup” is a config from six months ago, and half your VLANs have changed since then.
The archive feature removes the human element. Once you set it up, the device handles backups on its own. If someone saves a bad config at 2 AM, you still have the previous version sitting on your server.
Setting Up the Archive Feature Step by Step
Here is a basic setup that pushes configs to an FTP server every time someone saves the running configuration. I’ll break down each command so you know what it does.
Step 1: Enter Archive Configuration Mode
SW01# configure terminal
SW01(config)# archive
SW01(config-archive)#
This drops you into archive configuration mode. From here, you define where backups go and when they trigger.
Step 2: Enable Configuration Change Logging
SW01(config-archive)# log config
SW01(config-archive-log-cfg)# logging enable
The log config section tracks configuration changes. Enabling logging records who made changes and when. This is separate from the backup itself, but it pairs well with archiving because it gives you an audit trail.
Step 3: Define the Backup Destination
SW01(config-archive-log-cfg)# path ftp://john:cisco123@192.168.1.10/CiscoBackup.txtThis tells the switch where to send the file. The format includes the protocol, username, password, server IP, and file path. I’ll explain why you might want to avoid this exact approach in the security section below.
Step 4: Trigger Backups on Save
SW01(config-archive-log-cfg)# write-memoryWith write-memory enabled, the switch pushes a backup every time you run write memory or copy run start. This is the mode I recommend for most networks because it captures changes immediately without creating unnecessary duplicate files.
Step 5: Add a Scheduled Backup Interval
SW01(config-archive-log-cfg)# time-period 1440This sets a recurring backup every 1440 minutes — that’s once per day. You can combine write-memory and time-period together. The switch then backs up on every save and on the schedule.
Step 6: Verify the Configuration
SW01# show archiveThis command shows you the current archive settings, the maximum number of archived configs allowed, and the next archive file name.
Here is the full configuration block for reference:
archive
 log config
  logging enable
 path ftp://john:cisco123@192.168.1.10/CiscoBackup.txt
 write-memory
 time-period 1440
Choosing the Right Protocol: TFTP vs FTP vs SFTP
The archive feature supports several transfer protocols. Your choice affects both security and reliability.
TFTP
path tftp://192.168.1.10/SW01-Backup.cfgTFTP is simple and works everywhere, but it sends data in plaintext with no authentication. Anyone on the network can intercept your configuration files, which often contain passwords, SNMP communities, and ACL details. I only use TFTP in lab environments or isolated management networks.
FTP
path ftp://backupuser:password@192.168.1.10/backups/SW01.cfgFTP adds basic username and password authentication, but the credentials still travel in plaintext. It’s better than TFTP, but not by much. If you must use FTP, make sure your management VLAN is locked down tight.
SFTP and SCP
path sftp://backupuser:password@192.168.1.10/backups/$h.cfgSFTP and SCP encrypt both the data and the authentication. This is what you want for production networks.
One catch: older IOS versions sometimes struggle with cipher mismatches between the switch and the SFTP server. If your backups fail silently, check your SSH algorithms:
ip ssh server algorithm encryption aes128-ctr aes192-ctr aes256-ctr
ip ssh server algorithm mac hmac-sha1
ip ssh client algorithm encryption aes128-ctr aes192-ctr aes256-ctr
ip ssh client algorithm kex diffie-hellman-group14-sha1
HTTP and HTTPS
path https://backupserver.local/api/upload/$h.cfgHTTP and HTTPS work too, though they are less common for this use case. HTTPS gives you encryption similar to SFTP.
Using Variables to Organize Your Backup Files
If you back up ten switches to the same directory with static filenames, you will overwrite files constantly. Cisco lets you use variables in the path to keep things organized.
| Variable | What It Inserts |
|---|---|
$h | Device hostname |
$t | Timestamp |
$s | Random session ID |
Here is a practical example:
path sftp://backupuser:password@192.168.1.10/switch-configs/$h-$t.cfgThis produces filenames like:
SW01-Aug-29-11-52-00.123-1.cfgUsing $h alone is often enough if you create separate folders per device on your server. Using $t adds a timestamp, which prevents overwrites and gives you a history.
Verifying and Troubleshooting Your Backups
After you configure archiving, don’t just assume it works. Test it.
Check Archive Status
SW01# show archiveLook for the next archive file name and confirm the path looks correct. If you see errors or the file count stays at zero, something went wrong.
Test a Manual Save
SW01# write memory
Building configuration...
[OK]
If your server is reachable and the credentials are right, you should see a transfer message. On SFTP, it looks like this:
SFTP send: Writing to /backups/SW01--Aug-29-11-52-00.123-1.cfg size 12450Common Problems and Fixes
Backups fail with no error message. Check your VRF settings. If your management interface sits in a separate VRF, you need to specify it:
path sftp://backupuser:password@192.168.1.10/backups/$h.cfg vrf Mgmt-vrfSFTP handshake fails. This usually means cipher or key-exchange mismatch. Match your SSH algorithms to what the server supports, as shown earlier.
FTP server rejects the connection. Some FTP servers require passive mode. The archive feature does not always handle this gracefully. Switch to SFTP if possible.
File permissions on the server. Make sure the target directory exists and the user account has write access. The archive feature will not create missing directories for you.
Removing or Modifying the Archive Configuration
If you need to disable archiving or change the destination, here is how to do it cleanly.
Remove the Entire Archive Block
SW01# configure terminal
SW01(config)# no archive
This deletes the entire archive configuration, including log config settings, paths, timers, and triggers.
Remove Individual Settings
If you only want to stop scheduled backups but keep the save-triggered ones:
SW01(config)# archive
SW01(config-archive)# no time-period
Or remove the path without touching the logging:
SW01(config-archive)# no pathChange the Backup Destination
Simply enter a new path command. It overwrites the old one:
SW01(config-archive)# path sftp://newuser:newpass@10.0.0.5/backups/$h.cfgA Better Approach: Combining Archive with EEM
The archive feature handles backups well, but it does not tell you when a change happened. For that, pair it with Embedded Event Manager (EEM). EEM can send you an email or a syslog alert the moment someone enters configuration mode or saves changes.
Here is a simple EEM applet that logs a message when the running config changes:
event manager applet CONFIG_CHANGE
 event syslog pattern "%SYS-5-CONFIG_I: Configured from"
 action 1.0 syslog msg "Configuration change detected on $hostname"
 action 2.0 cli command "enable"
 action 3.0 cli command "show archive config differences"
This gives you both the automated backup and immediate notification that something changed.
If you want to get fancy, you can have EEM run a Python script (on supported platforms) that parses the diff and emails it to your team.
Security Best Practices You Should Not Skip
I have seen too many networks with archive configurations that leak credentials. Here is what to watch out for.
Never Store Plaintext Passwords in the Path
This is the biggest mistake people make:
path ftp://admin:SuperSecret123@192.168.1.10/backup.cfgAnyone with read access to the running configuration can see that password. Use SCP or SFTP with key-based authentication where possible. On some platforms, you can reference a username without a password and let the device prompt or use an SSH key.
Hide Keys in Log Output
If you must include credentials in your config for some reason, at least mask them in the archive log:
SW01(config-archive-log-cfg)# hidekeysThis prevents sensitive strings from appearing in the configuration change log.
Use a Dedicated Backup User
Create a separate account on your FTP or SFTP server that only has write access to the backup directory. Limit its permissions so it cannot read, modify, or delete existing files. If that credential leaks, the damage stays contained.
Restrict Management Access
Put your archive traffic on a dedicated management VLAN or VRF. Do not let backup traffic traverse user-facing networks. Use ACLs on your TFTP or FTP server to only accept connections from your switch management IPs.
Clean Up Old Backups
The archive feature does not delete old files from the server. Over time, you will accumulate hundreds of config files. Set up a cron job on your server to purge files older than 90 days, or use a log rotation tool.
Conclusion
The Cisco archive feature turns configuration backups from a manual chore into an automatic safety net. Set it up once, and your switch or router will push a copy of its config to your server every time someone saves changes — or on whatever schedule you prefer.
Pick SFTP or SCP over TFTP whenever possible. Use variables like $h and $t to keep filenames organized. Test your setup after configuring it, and always mask credentials with hidekeys. For extra visibility, layer EEM on top to catch changes as they happen.
If you have not enabled archiving yet, spend ten minutes on it today. The next time a bad config slips through, you will be glad you did.
Want more articles and tutorials like this?
Get new tutorials, security alerts, and IT tips straight to your inbox.
That’s a really useful reminder about the manual backup issue. It’s so easy to forget until it’s too late, especially with busy schedules.