Nmap for Beginners: Useful Network Scanning Commands That Actually Work
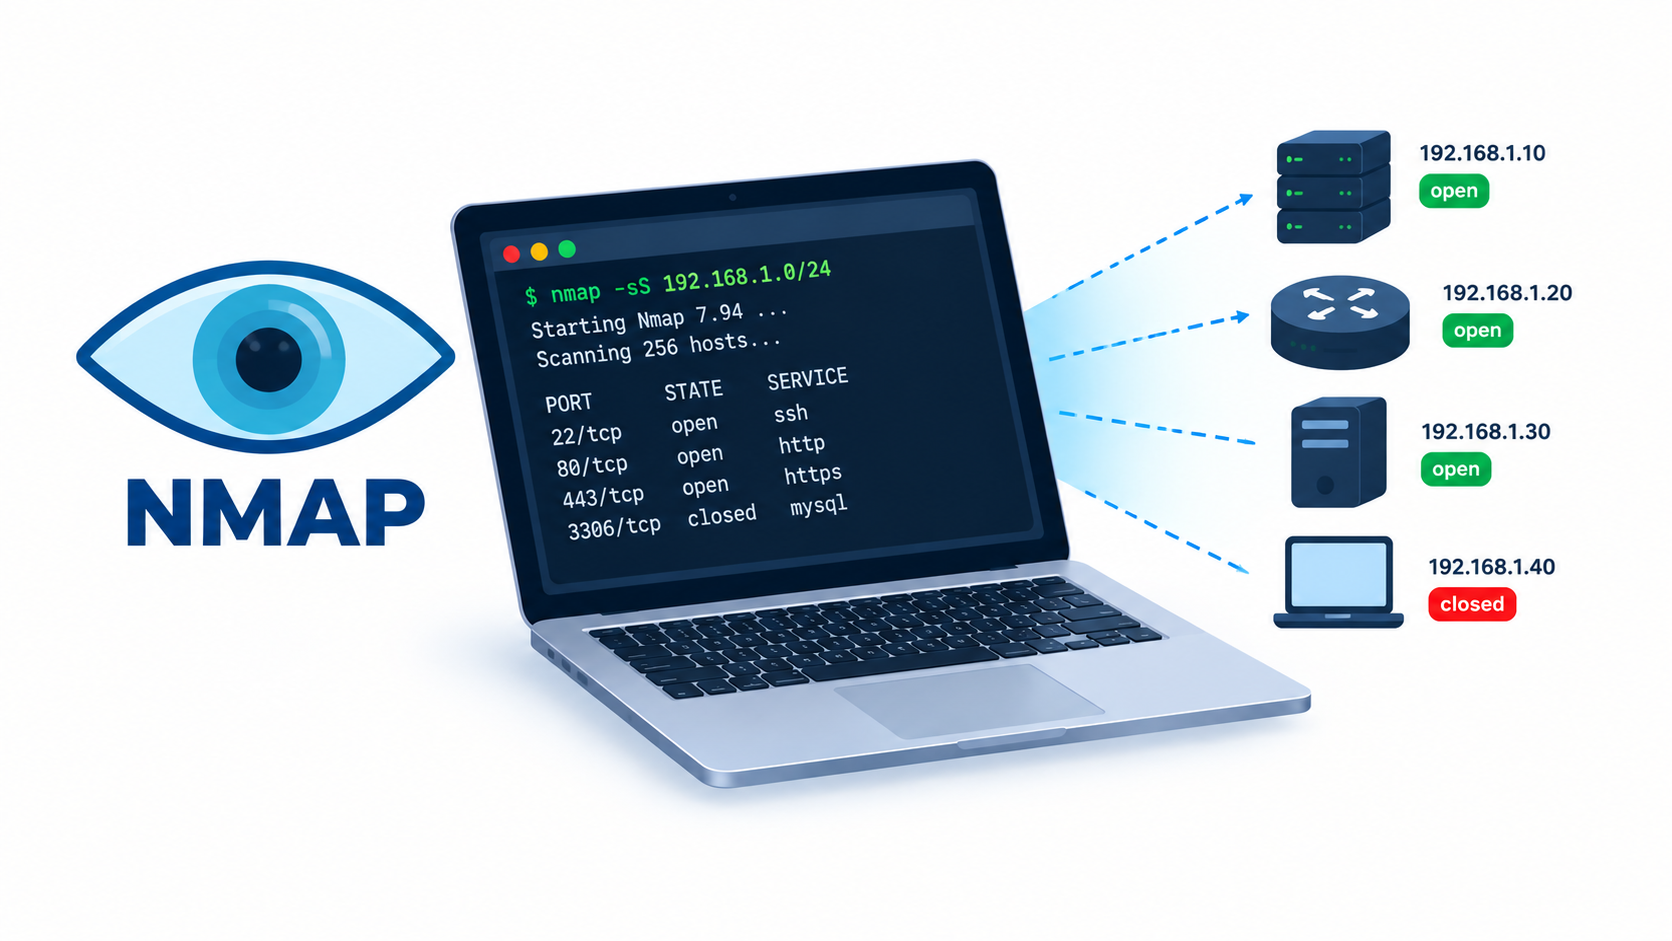
Every sysadmin remembers the first time a network went dark and nobody knew why. On one particular late shift, the culprit turned out to be a forgotten service listening on a port nobody documented. Nmap found it in under a minute. This guide collects the Nmap commands our team reaches for most often, explained in plain language so you can start scanning networks confidently today, whether you manage a home lab or a production environment.
Table of Contents
- What Is Nmap and Why It Matters
- Installing Nmap on Linux, macOS, and Windows
- How Ethical Hackers Use Nmap in Their Workflow
- Core Nmap Scanning Concepts
- Essential Nmap Commands for Beginners
- Reading TCP and UDP Port States
- Timing Templates and Firewall Evasion
- Working with the Nmap Scripting Engine (NSE)
- Saving and Reviewing Scan Results
- Common Mistakes Beginners Make
- FAQ
- Conclusion
What Is Nmap and Why It Matters
Nmap stands for Network Mapper. Security teams, network engineers, and hobbyists use it to answer three basic questions: which hosts are alive, what ports are open on them, and what software is running behind those ports. Gordon Lyon released the tool in 1997, and the project still receives regular updates today, with the current stable branch sitting at version 7.99.
Companies use Nmap for asset inventories, firewall auditing, and vulnerability discovery. Penetration testers use it during the reconnaissance phase of an engagement. Even home users run it to check which devices are connected to their Wi-Fi network. Because the tool works across Linux, macOS, and Windows, it has become a shared language among network professionals.
Installing Nmap on Linux, macOS, and Windows
Getting Nmap running takes less than two minutes on most systems.
Debian and Ubuntu
sudo apt update
sudo apt install nmap -y
Fedora and RHEL-based systems
sudo dnf install nmap -ymacOS (via Homebrew)
brew install nmapWindows
Download the installer directly from the official Nmap website. The Windows package bundles Zenmap, a graphical front end that displays results visually and helps beginners who prefer a GUI over the command line.
Confirm the installation worked by checking the version:
nmap --versionHow Ethical Hackers Use Nmap in Their Workflow
Penetration testers follow a repeatable process, and Nmap plays a role in the early stages of nearly every engagement. The typical structure looks like this:
- Reconnaissance – gather public information about the target
- Scanning – identify live hosts, open ports, and services (this is where Nmap shines)
- Gaining access – exploit a discovered weakness
- Maintaining access – keep a foothold for further testing
- Covering tracks – clean up evidence in authorized engagements
Within the scanning phase, testers usually follow a smaller roadmap: discover which hosts respond, check which services listen on those hosts, fingerprint the operating system, and finally build a map of how the network connects together. Each step narrows the target list and builds a clearer picture of the environment.
Core Nmap Scanning Concepts
Before running commands, it helps to understand a few building blocks that show up throughout this guide.
TCP Flags
Nmap manipulates TCP control bits to trigger specific responses from a target:
- SYN – opens a new connection
- ACK – confirms receipt of packets
- PSH – asks the receiver to process data immediately
- RST – aborts a connection
- FIN – signals that no more data will be sent
Scanning Objectives
Most scans aim to achieve one or more of these goals:
- Ping sweeps find which hosts in a range respond
- Port scans reveal which TCP or UDP ports accept connections
- OS fingerprinting guesses the target’s operating system from its network behavior
- Network mapping pieces together the overall topology
Image suggestion: A simple diagram showing a SYN packet, then a SYN-ACK reply, then an RST packet, labeled as the TCP three-way handshake used in scanning. Alt text: “Diagram of TCP SYN scan handshake process” Title: “tcp-syn-scan-handshake-diagram”
Essential Nmap Commands for Beginners
The commands below cover roughly 90% of what a beginner needs day to day. Run them against systems you own or have written permission to test.
1. Basic Host Scan
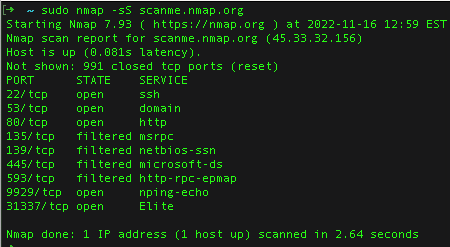
nmap 192.168.1.1This sends a scan to the top 1,000 most common ports and reports which ones are open.
2. Scan the Top 100 Ports Quickly
nmap -Pn -F --script=vuln 10.10.77.26-Flimits the scan to the 100 most common ports-Pnskips the host discovery step and assumes the target is online--script=vulnruns vulnerability-detection scripts against open ports
3. Full Port Scan with Service and Version Detection
nmap -p- -sC -sV --min-rate 1000 10.10.11.23This checks all 65,535 ports, runs default scripts (-sC), detects service versions (-sV), and speeds up the process with --min-rate.
4. Save Results and Search Them Later
nmap -A -oN nmap-results.txt -p- 10.10.0.123
cat nmap-results.txt | grep "open"
The -A flag combines OS detection, version detection, script scanning, and traceroute into a single aggressive scan. Saving output makes it easy to search later or share with a teammate.
5. Check Why a Port Shows a Specific State
sudo nmap -sS --reason 192.168.1.4 -p21 -vvThe --reason flag explains exactly why Nmap labeled a port open, closed, or filtered, which helps when troubleshooting unexpected results.
Reading TCP and UDP Port States
Understanding how Nmap interprets responses removes a lot of the guesswork from scanning. The table below breaks down the most common patterns.
| What Nmap Sends | What It Receives | Port State |
|---|---|---|
| SYN | SYN-ACK | Open |
| SYN | RST-ACK | Closed |
| SYN | ICMP Port Unreachable | Filtered |
| SYN | No response | Filtered |
| UDP | UDP response | Open |
| UDP | ICMP Port Unreachable | Closed or filtered |
| UDP | No response | Filtered |
A “filtered” result usually means a firewall sits between the scanner and the target. Filtered ports do not confirm a service exists, only that something is blocking the probe.
Timing Templates and Firewall Evasion
Nmap gives users six timing templates that control how aggressively a scan runs:
- T0 (Paranoid) – extremely slow, used to avoid intrusion detection systems
- T1 (Sneaky) – slow, also aimed at IDS evasion
- T2 (Polite) – reduces bandwidth use and slows the scan
- T3 (Normal) – the default speed
- T4 (Aggressive) – faster, suited for reliable networks
- T5 (Insane) – fastest, sacrifices accuracy for speed
Fragmenting Packets to Avoid Detection
nmap -sS -sV -f -D RND:3 192.168.0.64This fragments packets and adds three random decoy IP addresses, making the scan appear to originate from multiple sources.
Sending Traffic from a Specific Source Port
nmap -sS -Pn -g 80 -F 192.168.0.10Some firewalls trust traffic that appears to come from port 80. The -g flag lets Nmap spoof its source port to test that assumption — only do this on networks you are authorized to assess, since it can trigger IDS/IPS alerts.
Host Discovery Without Port Scanning
bash
sudo nmap -sn 192.168.1.0/24The -sn flag skips port scanning entirely and only reports which hosts respond, which is useful for a fast inventory of a subnet.
Working with the Nmap Scripting Engine (NSE)
The Nmap Scripting Engine extends the tool with hundreds of community-written scripts written in Lua. Each script falls into a category:
- safe – won’t affect the target
- intrusive – may affect the target’s stability
- vuln – checks for known vulnerabilities
- exploit – attempts to exploit a vulnerability
- auth – tests for authentication bypass
- brute – attempts credential brute-forcing
- discovery – gathers extra information about services
Finding Scripts by Keyword
grep "ftp" /usr/share/nmap/scripts/script.db
ls -l /usr/share/nmap/scripts/*ftp*
Running a Specific Script Against a Target
nmap -sV -p 21 --script ftp-vsftpd-backdoor 192.168.0.89This example checks port 21 for the backdoor vulnerability tracked as CVE-2011-2523, a well-known flaw in an older vsftpd release.
Updating the Script Database After Adding New Scripts
sudo nmap --script-updatedbRun this command any time you manually add a new .nse file to the scripts directory, so Nmap recognizes it during future scans.
Saving and Reviewing Scan Results
Large scans generate output that becomes hard to read in a terminal. Save results in a structured format instead:
nmap -oA full-scan-results -p- -sV 192.168.1.0/24The -oA flag writes three files at once: normal (.nmap), XML (.xml), and grepable (.gnmap) formats. The XML output works well with reporting tools, while the grepable format supports quick command-line searches:
grep "open" full-scan-results.gnmapTeams that scan the same network regularly can compare two scan files with ndiff, a tool bundled with Nmap, to spot new hosts or newly opened ports since the last audit.
Common Mistakes Beginners Make
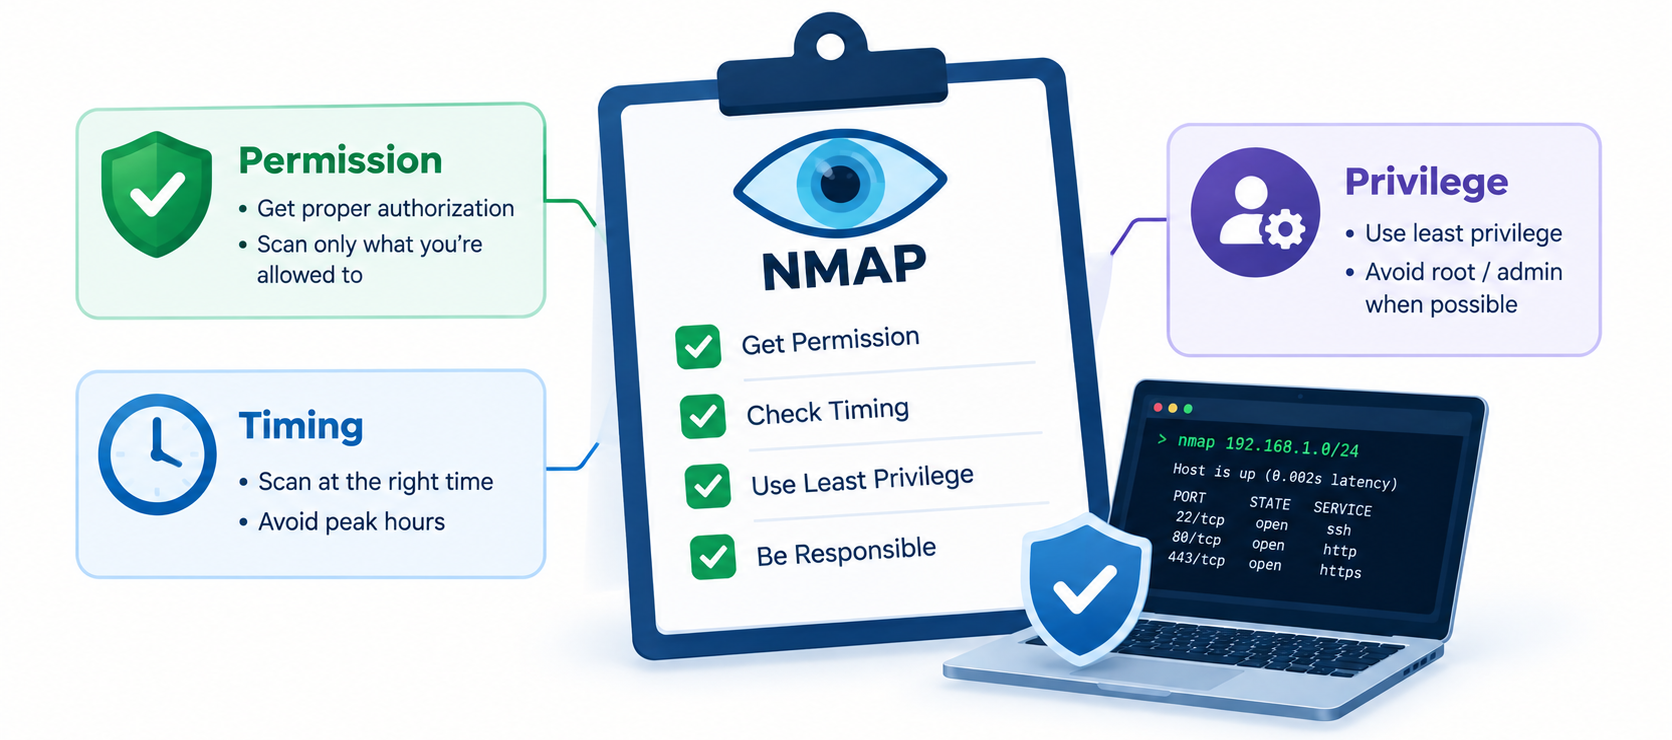
- Scanning without permission. Only scan networks and systems you own or have written authorization to test. Unauthorized scanning can violate the law in many countries.
- Skipping
-Pnon hosts that block ping. Many firewalls drop ICMP echo requests, which can make Nmap incorrectly report a live host as down. - Running aggressive scans on production systems during business hours. High-rate scans can overload older network equipment.
- Ignoring filtered results. A filtered port does not mean “no service.” Combine scan types or adjust timing to get a clearer picture.
- Forgetting
sudofor SYN scans. Raw socket access on Linux and macOS usually requires elevated privileges.
FAQ
Is Nmap legal to use? Nmap itself is legal software. Scanning a network without the owner’s consent is illegal in most jurisdictions. Always get written authorization before scanning any system you do not own.
Does Nmap work on Windows? Yes. The official Windows installer includes the command-line tool plus Zenmap, a graphical interface for users who prefer visual output.
What is the difference between -sS and -sT? -sS performs a stealthier SYN scan that never completes the TCP handshake, while -sT completes a full connection and tends to be slower and easier to log.
Why does a scan show “filtered” instead of “open” or “closed”? A filtered result usually means a firewall or access control list is blocking Nmap’s probe, so the tool cannot determine the true state of the port.
Can Nmap detect the operating system of a target? Yes, using the -O flag. OS detection analyzes subtle differences in how operating systems respond to network probes, though results are estimates rather than guarantees.
How do I scan an entire subnet instead of a single IP? Use CIDR notation, for example nmap 192.168.1.0/24, which scans every address in that range.
Conclusion
Nmap remains one of the most practical tools in any network professional’s kit because it turns an unknown network into a readable map of hosts, ports, and services. Beginners should start with simple scans like nmap -sV -sC <target>, then build up to full port scans, timing controls, and the Nmap Scripting Engine as confidence grows. Always scan responsibly, document findings clearly, and combine Nmap with other tools for a complete security picture.
Looking to sharpen your Linux and networking skills further? Check out our guide on hardening SSH access on Linux servers for the next step in securing your infrastructure.
Want more articles and tutorials like this?
Get new tutorials, security alerts, and IT tips straight to your inbox.