How to Configure a VLAN on a Cisco Switch (Step-by-Step Guide for 2026)
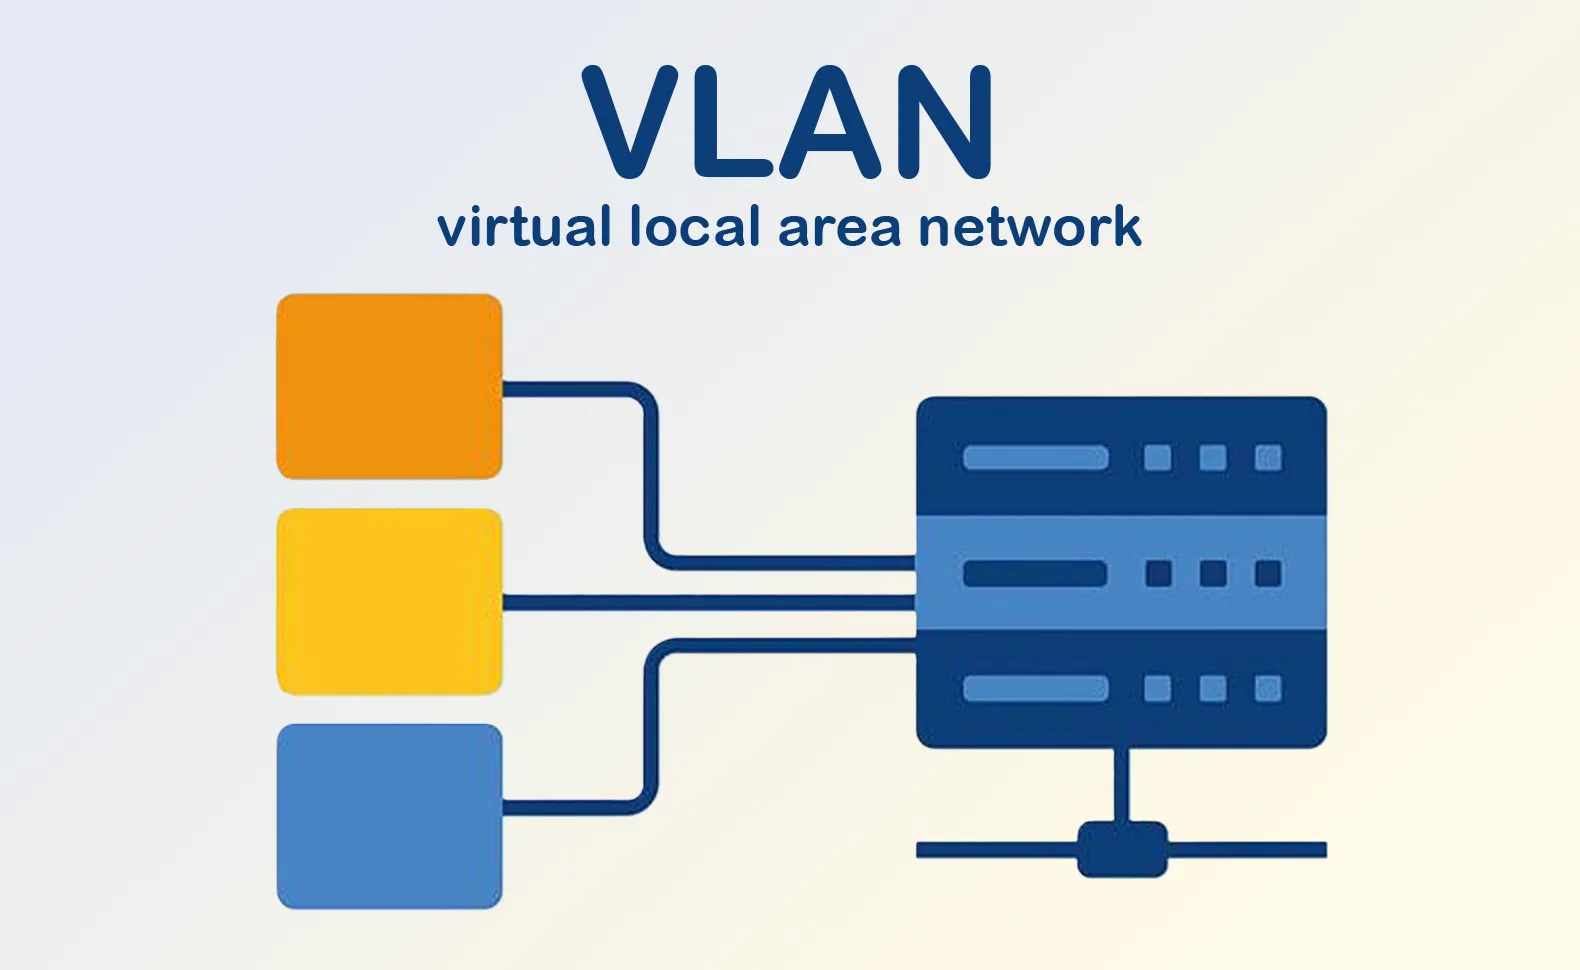
If you’ve ever plugged a new device into a switch port and watched it land in the wrong subnet, or spent an hour chasing a “down/down” SVI that should clearly be up, you already know that VLANs are simple in theory and unforgiving in practice. A single missing keyword — like typing switchport trunk allowed vlan 40 instead of switchport trunk allowed vlan add 40 — can silently wipe out an entire trunk’s VLAN list and take down a wiring closet in seconds.
This guide walks through VLAN configuration on modern Cisco Catalyst switches (IOS-XE platforms such as the 9200 and 9300 series) the way it’s actually done in production: not just the commands, but the order they should run in, the verification steps that catch mistakes before they become outages, and the edge cases that trip up even experienced network engineers.
Quick answer: To configure a VLAN on a Cisco switch, create the VLAN in global configuration mode (vlan 10 → name ...), assign it to access ports with switchport mode access and switchport access vlan 10, then build a trunk uplink with switchport mode trunk and switchport trunk allowed vlan add <id> — always using add rather than overwriting the list. Finish by verifying with show vlan brief and show interfaces trunk before you consider the change complete.
Why VLANs Still Matter in 2026
Even with the industry’s steady march toward SD-Access, fabric-based campus networks, and VXLAN overlays, the VLAN remains the foundational building block underneath almost all of it. Understanding classic VLAN behavior is what makes those newer architectures make sense — SD-Access, for example, still maps traffic into VLANs at the edge before encapsulating it into VXLAN for transport across the fabric.
At a basic level, a VLAN is a Layer 2 broadcast domain. Instead of every device on a switch sharing the same collision and broadcast space, VLANs let you logically split one physical switch into several isolated networks. Devices in different VLANs can’t talk to each other unless something is explicitly routing between them — which is exactly the point.
In a typical enterprise deployment you’ll see VLANs used for:
- Corporate user data
- Voice (VoIP handsets)
- Wireless access point management and client traffic
- Security cameras and IoT devices
- Guest Wi-Fi
- Out-of-band switch and infrastructure management
Skip VLAN segmentation and you get one flat broadcast domain where a misbehaving IoT camera can flood traffic across every desk in the building. That’s the operational case for VLANs — the security case is arguably even stronger, since segmentation limits how far an attacker can move laterally after compromising a single device.
Before You Start: A Short Pre-Flight Checklist
A little planning saves a lot of rollback later:
- Confirm you’re on IOS or IOS-XE and know the platform (9200, 9300, older 3850/3650, etc.) — command availability varies slightly.
- Have your VLAN IDs and names decided before you start typing. Renaming later is easy; re-numbering trunked VLANs across a live network is not.
- Know exactly which interfaces are user-facing access ports and which are infrastructure trunk links.
- Decide whether this switch needs Layer 3 SVIs (routed VLAN interfaces) or is purely Layer 2.
- Assume 802.1Q trunking by default on modern Catalyst hardware — the older
switchport trunk encapsulation dot1qcommand is largely irrelevant on current platforms and only shows up on switches that support multiple trunking encapsulations (like ISL, which is effectively extinct).
Step 1: Create the VLAN
Everything starts in global configuration mode:
Switch# configure terminal
Switch(config)# vlan 10
Switch(config-vlan)# name CORPORATE-DATA
Switch(config-vlan)# exit
Repeat for every VLAN you need:
Switch(config)# vlan 20
Switch(config-vlan)# name VOICE
Switch(config-vlan)# exit
Switch(config)# vlan 30
Switch(config-vlan)# name GUEST
Switch(config-vlan)# exit
Switch(config)# vlan 99
Switch(config-vlan)# name NATIVE
Switch(config-vlan)# exit
Naming VLANs by function (VOICE, GUEST, MGMT) rather than by building or floor pays off enormously during troubleshooting, especially once a network grows past a handful of switches and different engineers are touching it.
A quirk worth knowing: VLAN definitions on many Cisco platforms live in a separate file, vlan.dat, independent of the running or startup configuration. If you erase startup-config and reload expecting a truly blank slate, old VLANs can reappear because vlan.dat was never touched. If you need a genuinely clean VLAN database, you have to remove that file separately.
Step 2: Assign Access Ports
Access ports connect single endpoints — PCs, printers, cameras — and each one belongs to exactly one VLAN.
Switch(config)# interface GigabitEthernet1/0/10
Switch(config-if)# switchport mode access
Switch(config-if)# switchport access vlan 10
Switch(config-if)# spanning-tree portfast
Switch(config-if)# exit
For a whole bank of user ports, use an interface range instead of repeating the same block 24 times:
Switch(config)# interface range GigabitEthernet1/0/1-24
Switch(config-if-range)# switchport mode access
Switch(config-if-range)# switchport access vlan 10
Switch(config-if-range)# spanning-tree portfast
Switch(config-if-range)# exit
It’s worth being deliberate about switchport mode access even though some switches will negotiate access mode automatically via Dynamic Trunking Protocol (DTP). Leaving that negotiation implicit is one of the more common sources of “why did this port suddenly start trunking” incidents — hard-coding the mode removes the ambiguity entirely.
Why Explicit Beats Automatic
DTP was designed to make cabling “just work,” but in a production network predictability beats convenience. An access port that silently negotiates into trunk mode because of a misconfigured neighbor is a real (if uncommon) attack vector known as VLAN hopping — and it’s trivially prevented by never letting access ports negotiate trunking in the first place.
Step 3: Build the Trunk Uplink
Trunk ports carry multiple VLANs, tagged with 802.1Q headers, across a single physical link — typically between switches, or between a switch and a firewall or wireless controller.
Switch(config)# interface TenGigabitEthernet1/1/1
Switch(config-if)# switchport mode trunk
Switch(config-if)# switchport trunk allowed vlan 10,20,30,99
Switch(config-if)# exit
Access Port vs. Trunk Port, at a Glance
| Port Type | Carries | Typical Use |
|---|---|---|
| Access | One untagged VLAN | End devices: PCs, printers, cameras |
| Trunk | Multiple tagged VLANs | Switch-to-switch links, firewalls, AP uplinks |
The Single Most Dangerous VLAN Command
This is worth its own callout because it causes more real-world outages than any other VLAN mistake:
Switch(config-if)# switchport trunk allowed vlan 40That command replaces the entire allowed VLAN list on the trunk. If VLANs 10, 20, 30, and 99 were already flowing across that link, they’re gone the moment you hit enter — unless you happen to type them all back in on the same line. The safe version, when you’re adding a VLAN to an already-configured trunk, is:
Switch(config-if)# switchport trunk allowed vlan add 40If your team only takes one thing away from this guide, make it that distinction.
Step 4: Set the Native VLAN
The native VLAN is the one VLAN on a trunk that’s sent untagged. Both ends of a trunk link must agree on it.
Switch(config-if)# switchport trunk native vlan 99
Switch(config-if)# switchport trunk allowed vlan 10,20,30,99
Leaving the native VLAN at the factory default (VLAN 1) is a common but avoidable weakness — VLAN 1 tends to carry Cisco Discovery Protocol, Spanning Tree BPDUs, and other control-plane chatter by default, and a mismatched native VLAN between two switches can cause STP inconsistencies and, in edge cases, allow untagged traffic to leak between VLANs. Dedicating a VLAN specifically to native trunk traffic — and documenting it — closes that gap.
Step 5: Configure a Voice VLAN (If You’re Deploying IP Phones)
Cisco’s voice VLAN feature lets a single access port serve both a PC and an attached IP phone, keeping their traffic in separate VLANs even though they share one cable.
Switch(config)# interface GigabitEthernet1/0/15
Switch(config-if)# switchport mode access
Switch(config-if)# switchport access vlan 10
Switch(config-if)# switchport voice vlan 20
Switch(config-if)# spanning-tree portfast
Switch(config-if)# power inline auto
Switch(config-if)# exit
The phone learns its voice VLAN via Cisco Discovery Protocol, tags its own traffic with an 802.1Q header for VLAN 20, and passes the PC’s untagged traffic straight through to VLAN 10. power inline auto enables Power over Ethernet so the phone doesn’t need its own power brick — a small detail that’s easy to forget until a phone doesn’t boot.
Verifying the Configuration (Don’t Skip This)
Typing the commands is the easy part. Verification is where real problems get caught before users notice anything.
| Command | What It Tells You |
|---|---|
show vlan brief | Whether the VLAN exists and which ports are assigned to it |
show interfaces trunk | Trunk state, native VLAN, allowed and active VLANs |
show interfaces <int> switchport | Administrative vs. operational mode, access/voice/native VLAN |
show ip interface brief | SVI status, if you’re routing between VLANs |
Run show vlan brief first and confirm the VLAN ID, name, and expected access ports are all present. Then check show interfaces trunk and make sure your uplink is actually trunking, the native VLAN matches what you intended, and your VLAN appears in both the “allowed” and “active” columns — a VLAN can be allowed on a trunk but not active if there’s no forwarding path for it elsewhere.
Fixing the Most Common VLAN Problems
The SVI is stuck down/down even though the VLAN exists. This confuses a lot of people the first time they hit it. A Layer 3 VLAN interface will only come up if at least one port assigned to that VLAN is physically up and forwarding traffic somewhere. An empty VLAN with no active member ports produces a perfectly valid but permanently down SVI — plug in a device or bring up a trunk carrying that VLAN, and it’ll come up on its own.
Two switches can’t reach each other, but local devices in the same VLAN can. This almost always means the VLAN isn’t in the trunk’s allowed list between the two switches. show interfaces trunk will show you exactly which VLANs are permitted and active across that link.
Devices are being placed in the wrong VLAN despite correct-looking config. Check show interfaces <int> switchport for both the administrative and operational mode. If DTP negotiated something you didn’t expect, hard-code switchport mode access (or trunk) explicitly rather than leaving it to negotiate.
Spanning Tree is logging native VLAN mismatch warnings, or traffic seems to leak between VLANs. Check show logging for %CDP-4-NATIVE_VLAN_MISMATCH and confirm both ends of the trunk use the identical native VLAN ID.
Mistakes That Regularly Break Production Networks
- Creating a VLAN but never assigning it to any port — it exists in the database but does nothing.
- Assigning a VLAN to a port without explicitly forcing access mode, leaving behavior dependent on DTP negotiation.
- Overwriting a trunk’s allowed VLAN list instead of using
add. - Native VLAN mismatches between the two ends of a trunk.
- Assuming an erased startup-config fully resets VLANs, without accounting for
vlan.dat. - Leaving large numbers of unused ports sitting in VLAN 1, quietly expanding the default broadcast domain.
Enterprise VLAN Design: A Practical Starting Point
| VLAN ID | Purpose |
|---|---|
| 10 | Management |
| 20 | Corporate data |
| 30 | Voice |
| 40 | Guest |
| 99 | Native (unused for real traffic) |
| 999 | Unused / black-hole VLAN for dead ports |
A few design habits that pay off long-term: keep management traffic on its own VLAN separate from user data, avoid VLAN 1 for anything production-facing, and park unused switch ports in a dedicated “black-hole” VLAN and administratively shut them down. Many teams also run VTP in transparent mode rather than server/client mode — it’s more manual, but it removes an entire category of accidental network-wide VLAN database corruption that VTP server mode has historically been notorious for.
Automating VLAN Deployment with Ansible
Manual CLI changes are still completely normal for a one-off port move, but once you’re managing dozens or hundreds of access switches, repetitive VLAN provisioning becomes a strong candidate for automation.
A minimal VLAN creation playbook using Cisco’s ios_vlans module:
- name: Configure VLANs on Cisco switch
  hosts: access_switches
  gather_facts: no
  connection: network_cli
  tasks:
    - name: Create VLANs
      cisco.ios.ios_vlans:
        config:
          - vlan_id: 10
            name: CORPORATE-DATA
          - vlan_id: 20
            name: VOICE
        state: merged
And a matching access-port assignment task using ios_l2_interfaces:
- name: Configure access port
  hosts: access_switches
  gather_facts: no
  connection: network_cli
  tasks:
    - name: Assign access VLAN
      cisco.ios.ios_l2_interfaces:
        config:
          - name: GigabitEthernet1/0/10
            mode: access
            access:
              vlan: 10
        state: merged
The value here isn’t replacing CLI knowledge — you still need to understand what these modules are doing under the hood — but repeatability and change control at scale, which manual typing can’t reliably provide across a large campus deployment.
Frequently Asked Questions
Do I need switchport trunk encapsulation dot1q on a Catalyst 9300? No. Modern Catalyst access switches only support 802.1Q trunking, so the encapsulation command doesn’t apply. You’ll mostly see it referenced in older documentation covering switches that also supported Cisco’s legacy ISL trunking.
Why does my access port keep showing up as a trunk? Almost always DTP negotiation with a neighboring device set to dynamic desirable or dynamic auto. Hard-code switchport mode access to remove the ambiguity.
Can two VLANs on the same switch communicate without a router? No — that’s the entire point of a VLAN. Traffic between VLANs requires a Layer 3 device, whether that’s an SVI on a Layer 3 switch, a router-on-a-stick, or a firewall.
Is VLAN 1 safe to use for production traffic? Technically yes, but it’s discouraged. VLAN 1 carries a disproportionate amount of default control-plane traffic and is the default native VLAN on most switches, which makes it a less predictable choice for user-facing production data.
Wrapping Up
VLAN configuration on a modern Cisco Catalyst switch isn’t complicated once you internalize the order of operations: create the VLAN, assign it to the right ports, build the trunk with an explicit allowed list, set a deliberate native VLAN, and — critically — verify every step with show commands rather than assuming success. The handful of mistakes covered above (accidentally overwriting a trunk’s allowed VLAN list chief among them) account for a disproportionate share of real network outages, so treating verification as a mandatory step rather than an afterthought is the single highest-leverage habit you can build.
If you’re setting this switch up from scratch — including the management IP and secure remote access before you ever touch a VLAN — check out our companion guide, How to Configure a Cisco Switch: Initial Setup, and subscribe to the GEANTECHNOLOGY newsletter for more hands-on networking and system administration guides delivered as we publish them.
Want more articles and tutorials like this?
Get new tutorials, security alerts, and IT tips straight to your inbox.
That’s a really helpful breakdown, especially the reminder about double-checking those VLAN assignments. It’s so easy to lose track of everything!
thank you for your comment and you are welcome. feel free to register and create your own account to receive new posts via email